I'm still waiting for the time where delicate flowers begin to poke their heads out of the ground and start to bloom. Fat robins hatch their young and begin to chirp. Fresh produce can be found and it becomes warm enough to begin grilling again.

What I have to share with you today is a dish that envelopes the concept of Spring to me. Fresh grilled steak slices covered in a light and flavorful chimichurri sauce. Tossed with bright green asparagus and pasta. It's fresh, healthy, and can be thrown together in a pinch! For those that are on Clean Eating diets, you could easily adapt this recipe to use 100% whole grain pasta.
In case you've never had chimichurri before and are not sure what to expect, I call it Green Goodness. It's essentially the Argentine version of pesto. If you love garlic and herbs, you'll love this!
Two Years Ago: Fish Tacos
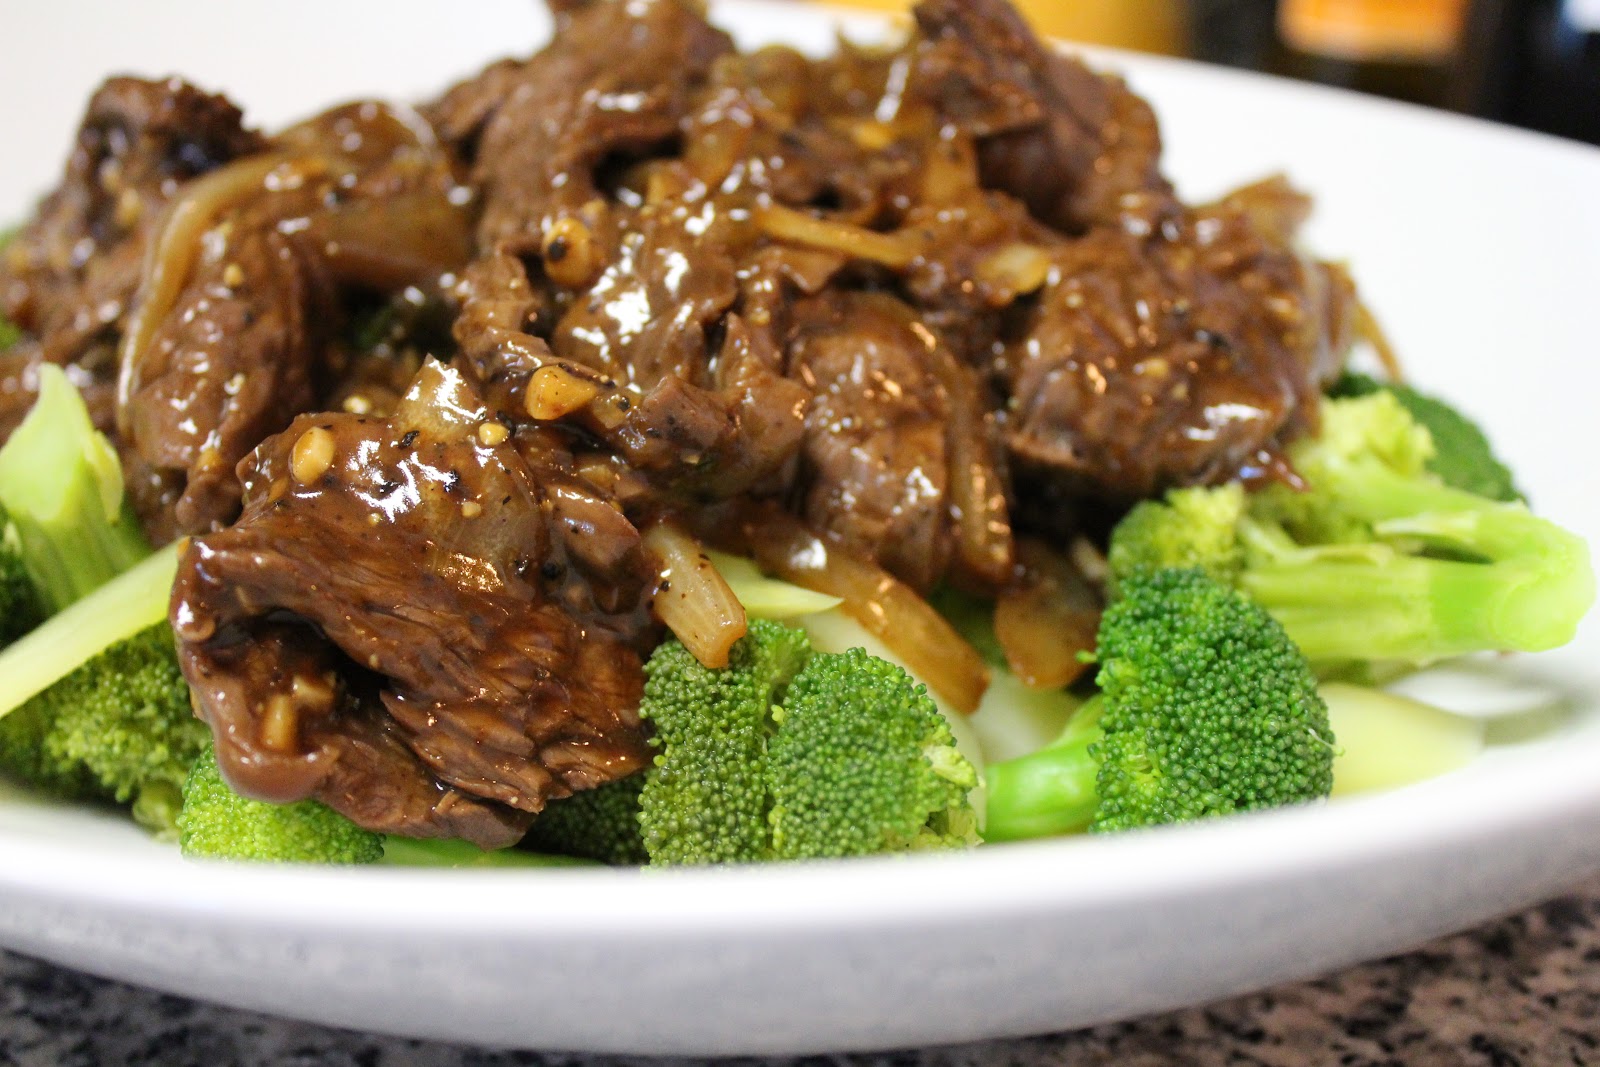
Steak, Asparagus, and Chimichurri Pasta

Ingredients
For the Chimichurri
- 3 cloves garlic
- 2 cups Italian or curly parsley, loosely packed
- 1/2 cup cilantro
- 1 cup extra virgin olive oil
- 1 tsp red wine vinegar
- 3 Tbsp lemon juice
- 1 tsp red pepper flakes (adjust to your desired heat tolerance...I could have used more!)
- 1 tsp salt
For the Pasta
- 1 lb pasta (I used Rotini but the original recipe called for Rigatoni)
- 1 lb skirt steak
- 1 lb thick asparagus, tough ends removed
Directions
- Make the chimichurri by placing all of the ingredients in a blender or food processor and pulsing until all large pieces of parsley, cilantro, and garlic are gone. You can also do this by hand by finely chopping the garlic, parsley, and cilantro then whisking together with the remaining ingredients.
- In a gallon sized ziplock bag, combine flank steak and about 1/4 cup of the chimichurri sauce. Return to the refrigerator to marinate overnight.
- When ready to cook, heat your grill to medium-high heat. For those in colder climates still, you can use a grill pan on your stove. Here's the one that I use!
- Once the grill is hot, place the steak on and cook to desired doneness (I do about 4-5 minutes on each side), flipping once. Grill the asparagus , turning often to ensure it doesn't burn. Remove the asparagus when it is tender but still crisp, about 4-6 minutes. Remove the steak and allow it to rest 5 minutes. Slice the steak into thin strips and cut the asparagus into 1-inch pieces.
- While grilling, bring a large pot of water to boil. Salt the boiling water then add pasta to the boiling water and cook until al dente. Drain and return to the pot.
- Toss the pasta and asparagus with chimichurri sauce until well coated (about 2/3 of what remains). Top with slices of steak and drizzle with additional chimichurri before serving. Any extra chimichurri sauce can be refrigerated for up to 3 weeks.


.jpg)

")


